How to Do the Zombie Trend with Two Photos
Make an AI zombie trend video online from two photos. Choose roles, quality and format, submit with credits, and download the result from My creations.
Have your two photos ready? Create your zombie story ↗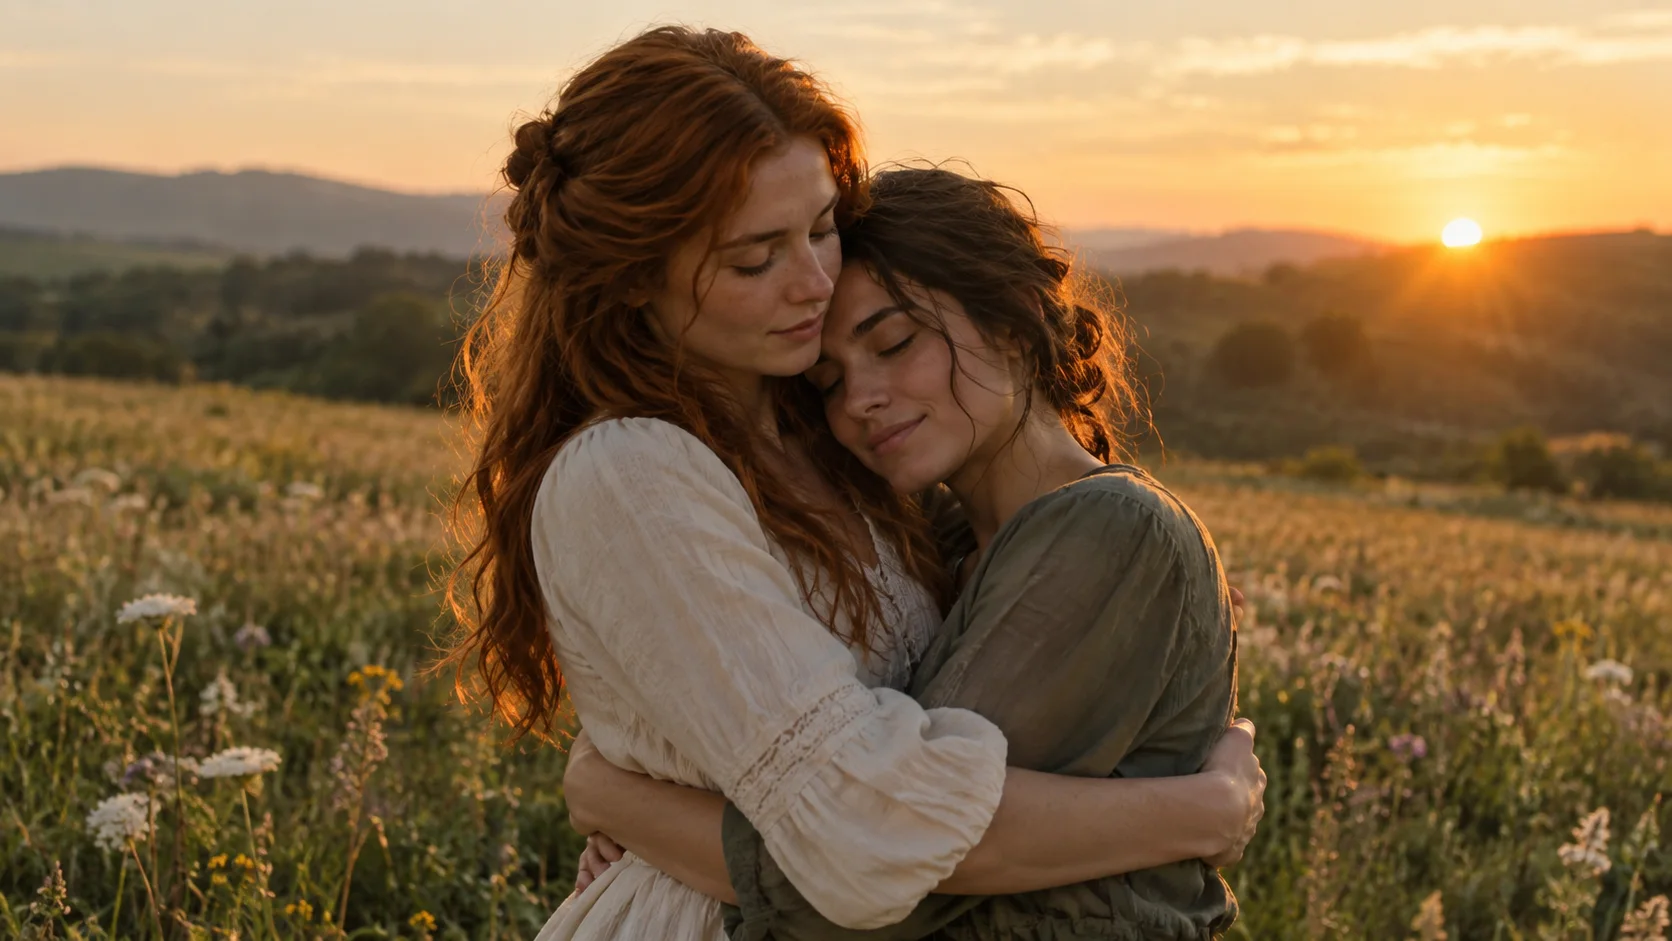
Already have your photos? Start in the homepage generator and use the steps below as your checklist. New requests are generated online with Seedance 2.0 Mini through KIE; you can follow progress and download the result in My creations.
Make the zombie trend without writing prompts
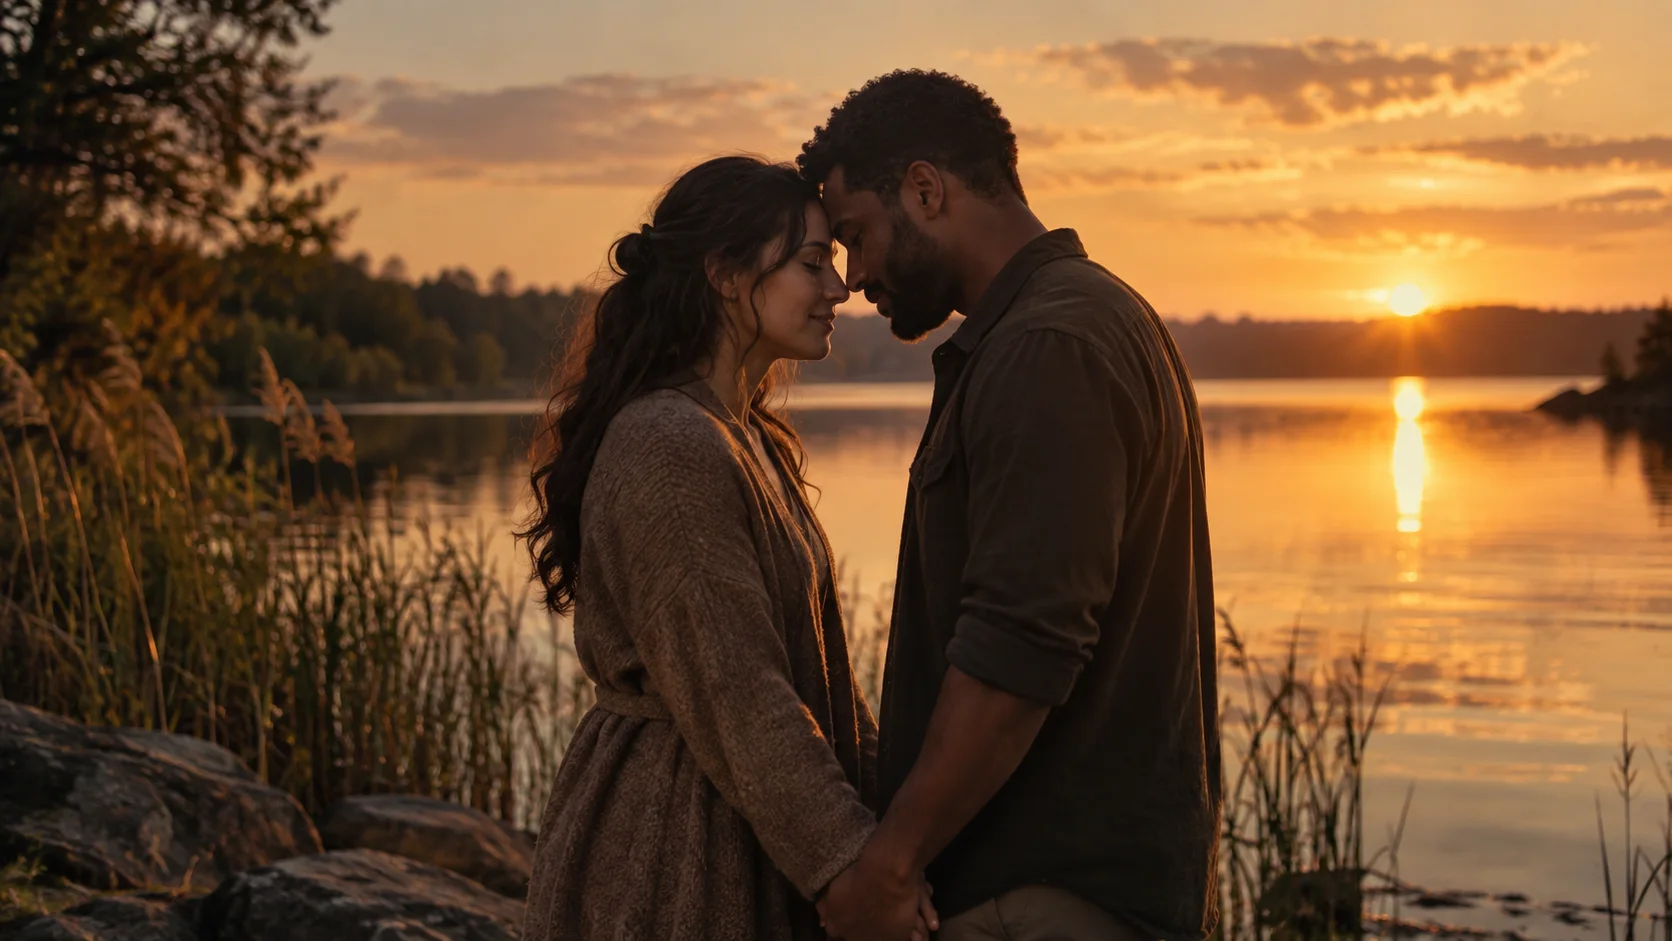
The AI zombie trend turns a frightening encounter into an embrace and a warm memory. ZombieTrend makes this prepared story from two role photos, rather than applying a single-photo face filter. You do not need to film an action reference, write a script or join clips in an editing timeline.
The story template explains the four moments, while video examples let you watch the idea before submitting. Read the prompt guide if you want to understand how the approach, transition and sound work. Its copyable prompts are for a separate DIY tool, not an input box in ZombieTrend.
Before you start
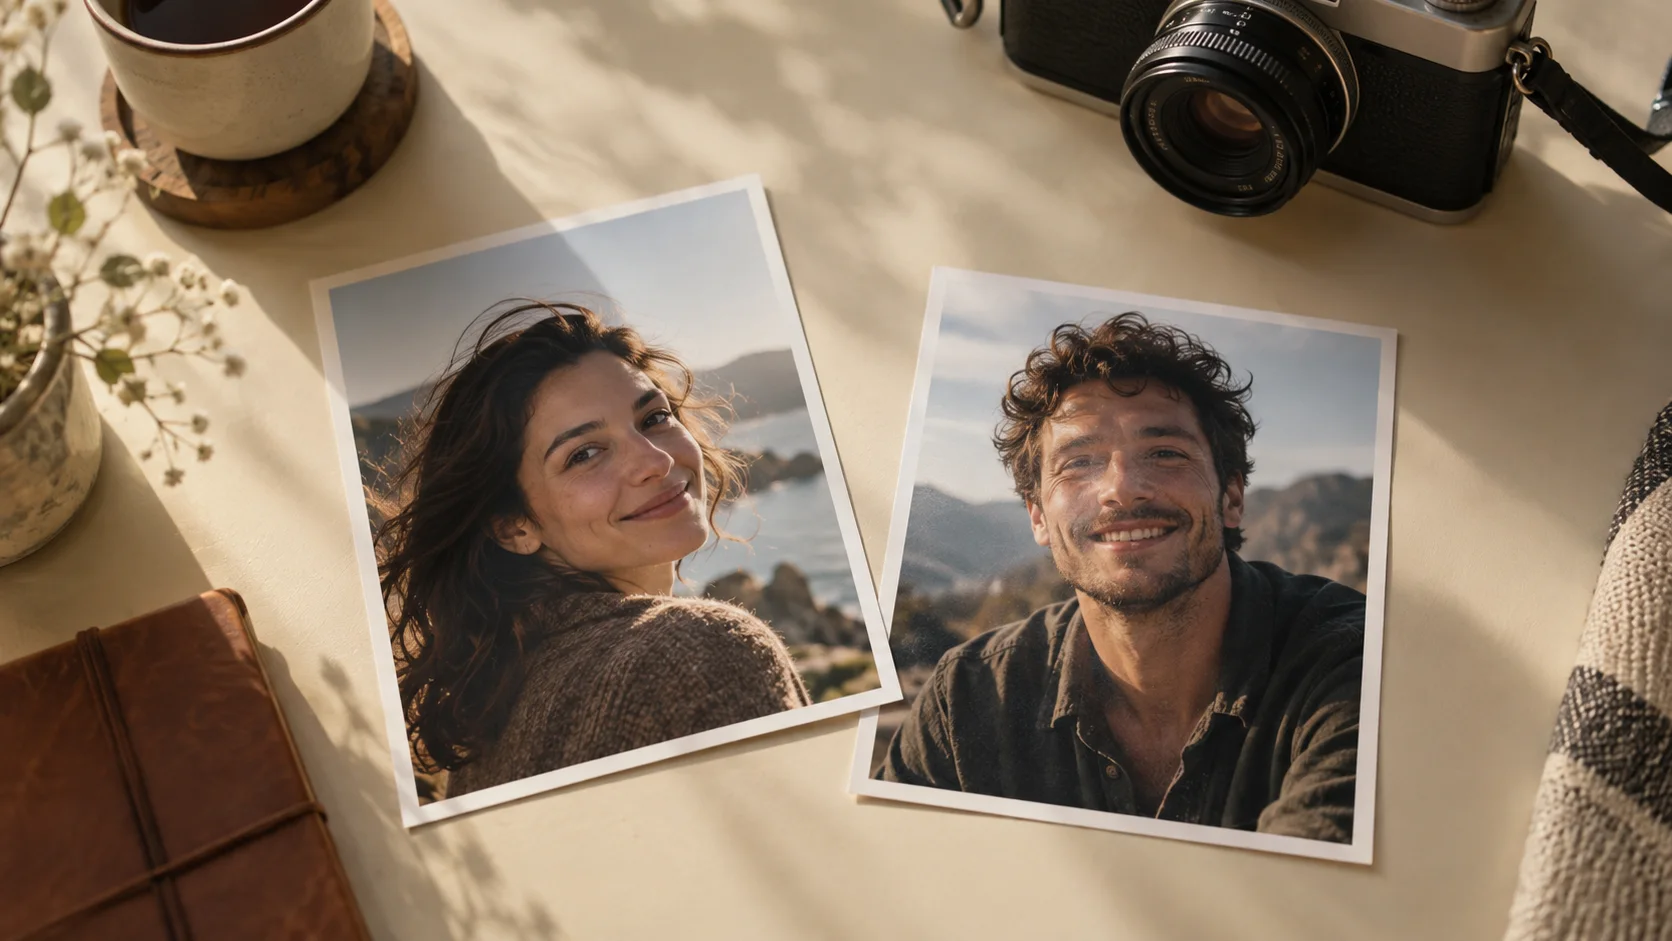
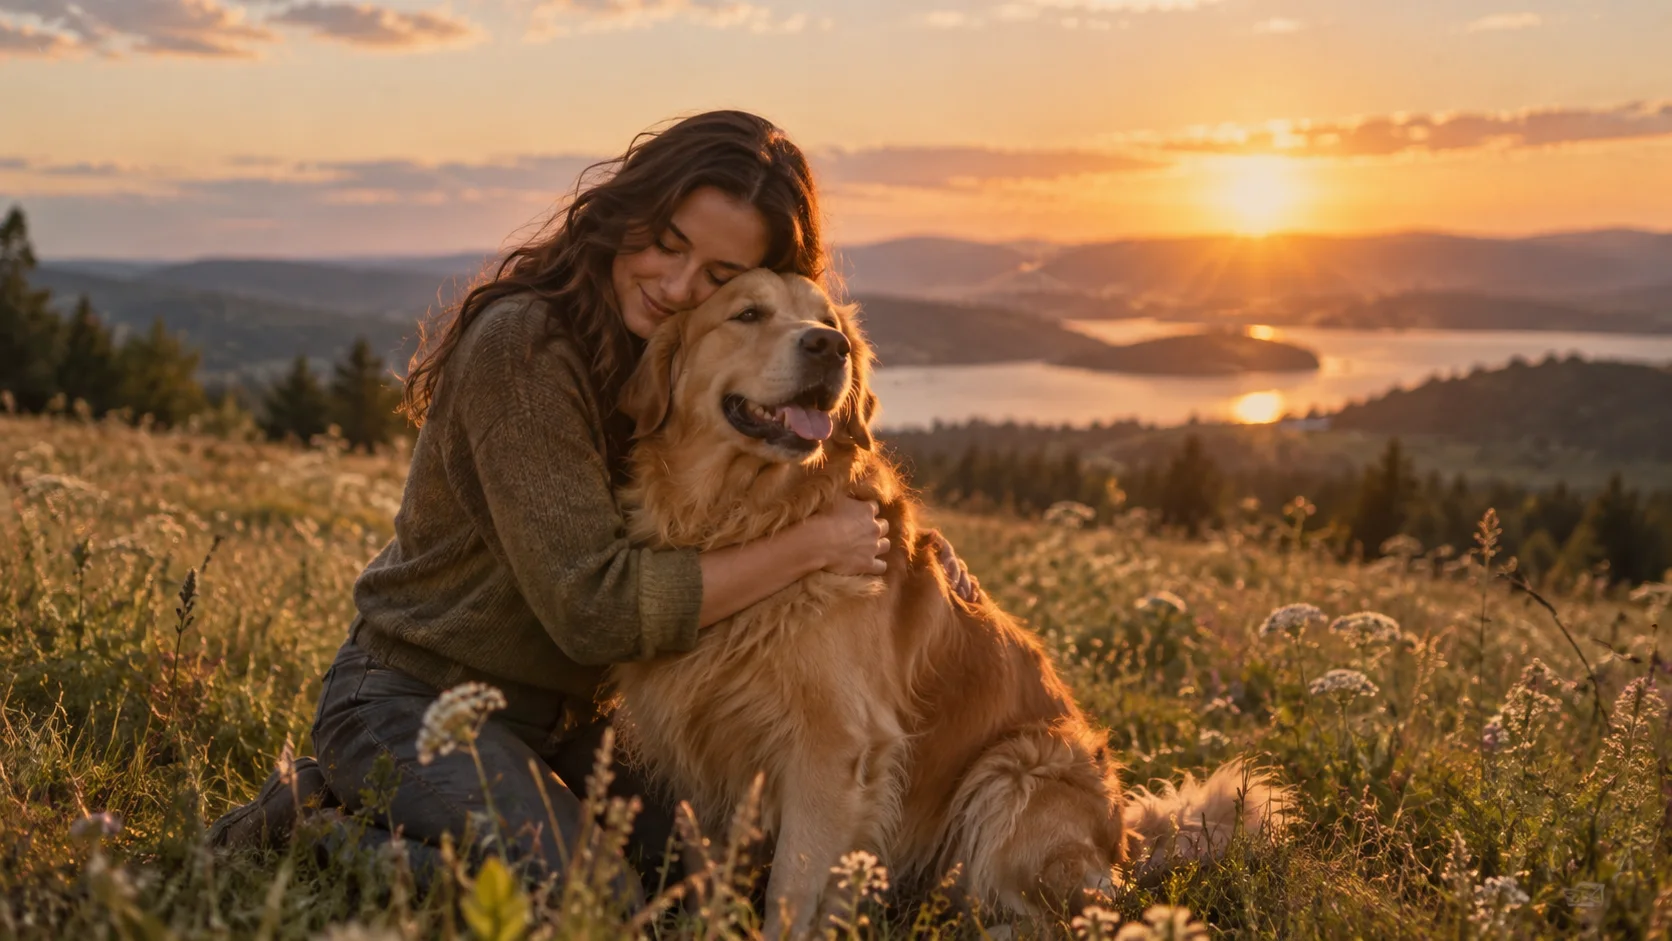
Prepare two separate photos that you own or have permission to use. Photo 1 shows the adult who stays human. Photo 2 shows another adult, a dog or a cat who takes the zombie role. Keep the role order the same when uploading.
Each image must be JPG, PNG or WebP and no larger than 8 MB. Use one intended subject per image, with a clear face and natural lighting. Avoid heavy face filters, sunglasses, blurred faces and distant subjects. For an animal, show the face and recognizable coat markings. Our photo guide covers the full checklist.
Step 1: Open the creator and choose your story
Open the ZombieTrend creator. Choose Human & zombie for two adults, or Pet & me for an adult owner and one dog or cat. Human roles are not tied to a particular gender.
The creator uses a prepared confrontation, recognition, pounce-to-embrace and memory sequence. It does not offer custom scripts, a song picker or selectable memory locations. Gallery examples illustrate the story style; they are not additional templates available in the selector.
Step 2: Add your photos in role order
Put the adult who remains human in the first slot. Put the adult or pet who becomes the zombie in the second. Check both previews before moving on; replace the photos if the roles are reversed.
You do not need matching backgrounds or matching outfits. A regular portrait is suitable preparation: do not pre-edit someone into a zombie or upload a screenshot of an example video. AI can alter likeness and movement, so clear references help communicate who the characters are without guaranteeing an exact match.
Step 3: Choose quality and format
Select 480p for 200 credits or 720p HD for 300 credits. Both options generate an approximately 15-second video with sound. Choose 9:16 portrait for a vertical composition or 16:9 landscape for a wider frame. The default selection is 720p and 9:16.
These choices set the output specification. They do not add extra story scenes, a custom soundtrack or a different delivery method. Review the selected credit cost on the button before continuing.
Step 4: Sign in and add credits if needed
Confirm permission to use the photos and sign in when prompted. On the same browser, selected photos and settings can be restored across sign-in. If your balance is insufficient, the credit dialog lets you choose a one-time package.
The packages are Starter: $9.90 / 300 credits, Creator: $24.90 / 900 credits and Studio: $59.90 / 2,400 credits. Purchased credits are valid for 365 days. There are no subscriptions, automatic renewals or free registration credits. Check pricing for the current catalog.
Buying credits is not the same as submitting a video. A saved request can resume after payment is confirmed and the balance is sufficient. Check the generator confirmation or My creations to see whether it continued. If you only bought a package, return to the generator and submit your photos separately. Cancelling a payment does not create a video.
Step 5: Submit and check progress
Review the role order, quality, format and consent, then select Generate video. A successful submission creates the request and deducts its video credits. Keep the request ID and check My creations for the generation status.
Allow about 10–15 minutes for generation. High demand may cause longer waits; this estimate is not a guaranteed deadline. You can close the page and return to the same account later. The page checks progress automatically, so repeated submissions are not needed while your request is pending.
If a network interruption makes the outcome unclear, check My creations before creating another request. Each separate video submission uses credits; buying another pack or pressing Generate again is not a way to speed up an existing task.
Step 6: Watch, download and review
When your video is ready, open it in My creations and download your own copy. Check playback and sound before sharing. New online results are available through your account; do not wait for an automatic delivery email.
Review the faces, pet markings, movement and embrace-to-memory transition. AI output can vary in each of these details. If a request fails or you need help, contact support with its ID and review the refund policy. Historical manual requests keep the original email delivery terms shown on those orders.
Common questions
Can I paste a prompt into ZombieTrend?
No. The creator uses prepared human and pet stories. You upload photos and choose the listed quality and format options. The free copyable text in our prompt guide is for experimentation in a compatible external video tool.
I paid, but I cannot find a video. What should I check?
Check your credit balance and My creations. A payment receipt confirms a credit purchase, not a submitted video. If there is no request, return to the generator and submit one. If there is a pending request, allow time for generation rather than paying or submitting again.
Do I need to keep the page open?
No. Once submission succeeds, generation continues on the server. Sign in to the same account and return to My creations to check progress and download the result.
Can I use one photo of both people?
The creator needs two separate role photos. Choose an individual image of each adult instead of uploading the same group photo twice.
Ready for your own story?
Open the generator and add your two photos. If you have already submitted, check My creations before starting another request. Your finished story can be watched and downloaded there.